Fun photography projects to try at home
Want to take snaps like a pro? Follow these expert tips to take your photography to the next level
Bored of taking pictures using the same old filter on your smart phone? Time to explore the world from a new angle. ‘Photography is a form of storytelling, and with a bit of creativity, we can use our environments to tell the stories of the people, animals, and places we love,’ says artist Jane Samuels. ‘Look for those moments worth remembering: a quiet image of your loved ones reading a book, a moment hugging, playing, or walking together. There are lots of really creative things you can do with light at home, and the storytelling theme applies to nature and garden images too. Even gardening failures are a win for photography: a shot to celebrate the one holey potato you've grown this year or the stub that remains of the plant the slugs have eaten just adds to the fun and richness of the narrative.’
A photo a day
Whether you’re just getting started or you need a nudge to take your photography to the next level, consistency is key. Why not commit to taking a photo a day for a week, a month, or even a year? You could create a photo diary on Instagram, take instant photos and paste them into a scrapbook, or display your work on a gallery wall in your home.
‘Shots that show natural activity, movement or connection are always more interesting and impactful than traditional family portraits,’ says Jane. ‘If you live with others, photographing a shared look or laugh will capture memories that you’ll really enjoy looking back on. Play with close-ups – they’re ideal if you want to capture the expression of your little one while they concentrate on a book.’
‘Try to capture them off guard,’ advises designer and photographer Mike Kus. ‘You’ll get more of their true personality into the photo this way. If you’re using a phone, select Portrait mode – this replicates the focal lengths you can achieve with a DSLR set-up, to give you that lovely out-of-focus effect on the background.’
If you live alone, it’s a good time to overhaul your selfie game. ‘Set a timer on your camera so you can get yourself settled in the story you’d like to tell,’ Jane suggests. ‘Dress up, use props – there’s no limit to the possibilities. If you’ve always wanted to star in your own film noir with your child, cat or goldfish, now’s the time to do it.’
Alternatively, you could document how a certain corner of your garden, or the view from your window or doorstep, changes from day to day, or take on a weekly or monthly Instagram challenge like #myhomethismonth, which prompts you to focus on a different corner of your home each day.
Always keep the story you want to tell in mind. ‘You might want close-ups of beautiful blooms along with wider shots to show how everything fits together, and images of how you use your space,’ Jane suggests. ‘For example, a steaming coffee next to your gardening gloves and trowel might tell the tale of a well-deserved rest.’
Light it right
Whichever challenge or project you take on, you’ll want to give your images the ‘wow’ factor – which means learning how to make light work for you.
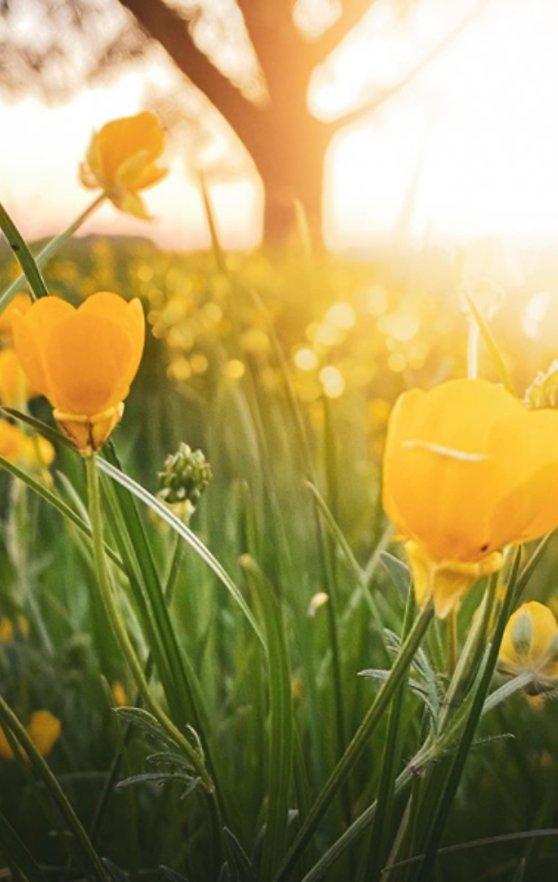
‘Shooting indoors can be difficult, but using the natural light from a window can add atmosphere and character, especially early or late in the day, when the light is golden and lower in the sky,’ Mike advises.
‘Consider how the light changes throughout the day,’ adds Jane. ‘Where and when does it fall just right across someone’s face? Try turning the lights off at dusk for moody, quiet and atmospheric shots.’
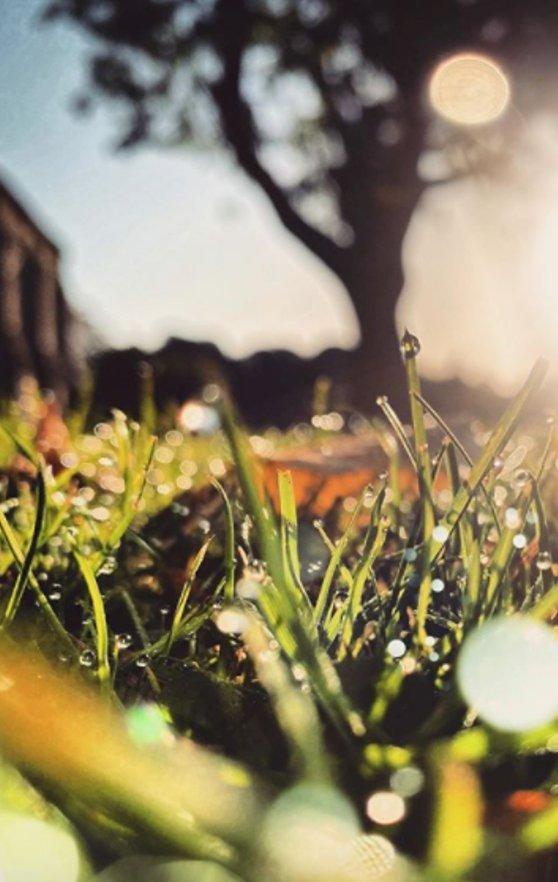
‘Outside, look at the way light travels through grass and leaves,’ she continues. ‘Where is the light coming from – is your subject backlit and in silhouette, or lit up and clear? Are there areas of dramatic shadow? What does this do to the image – does it soften it, or make it bolder?’
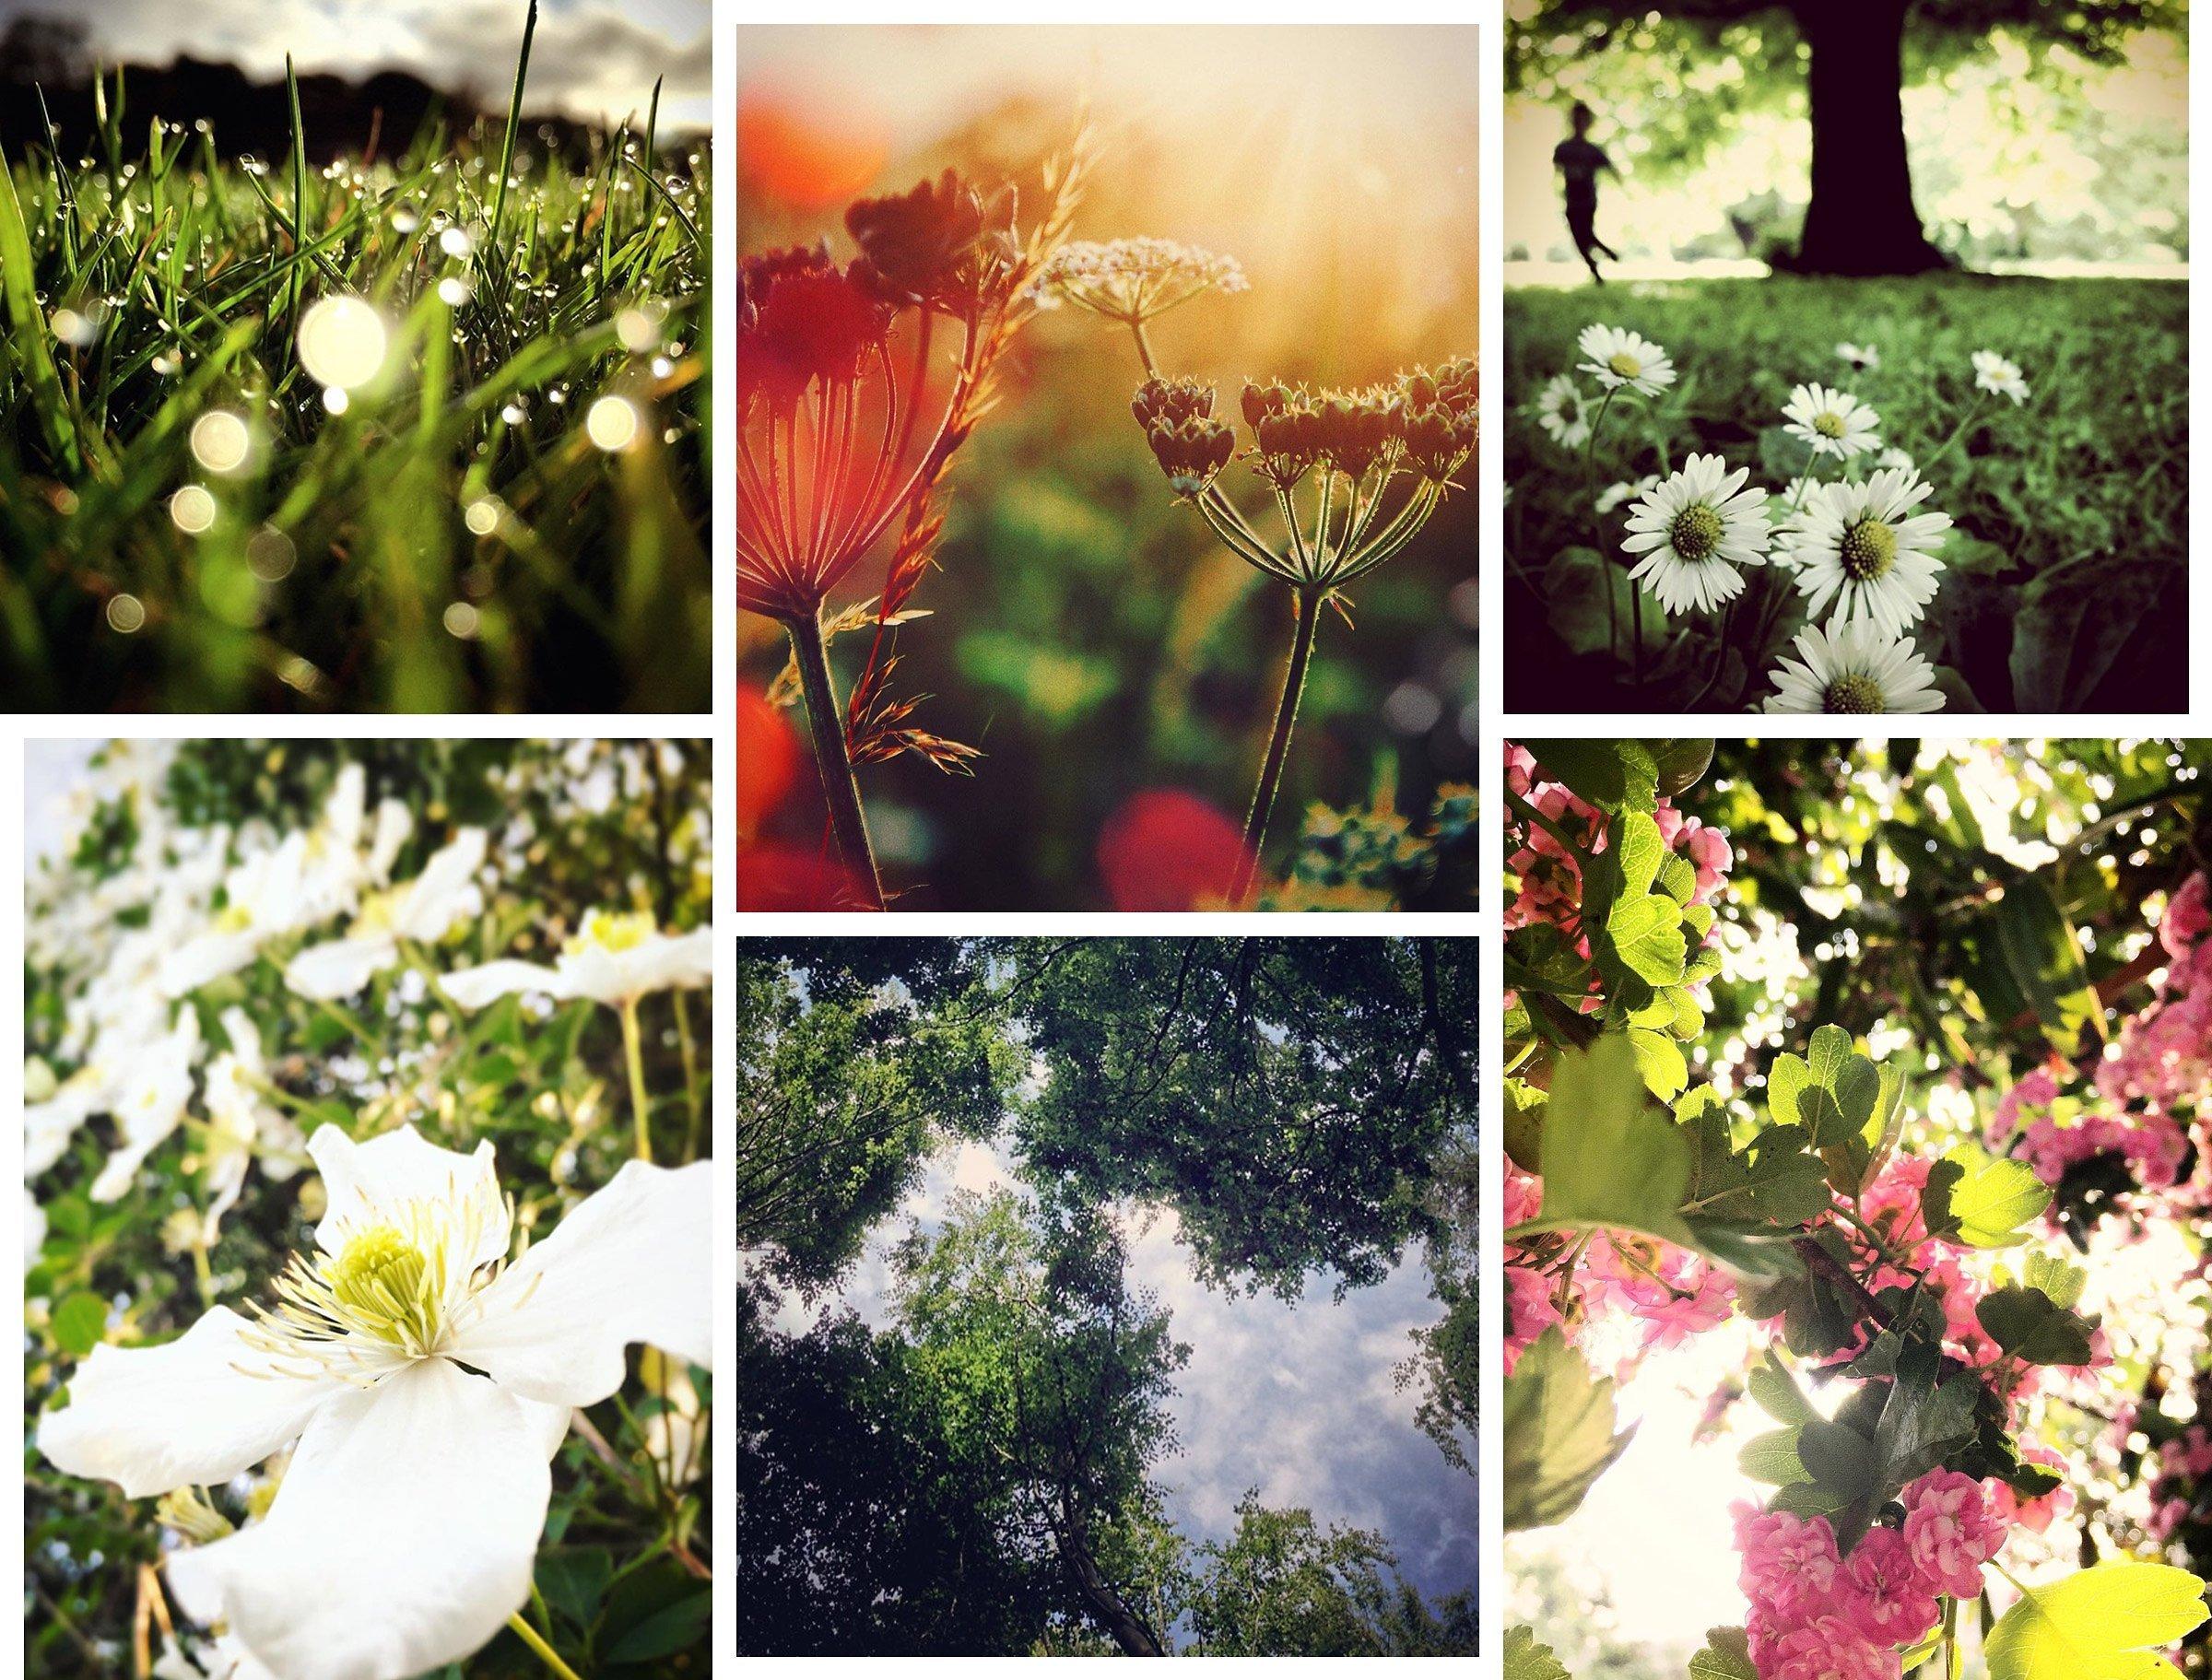
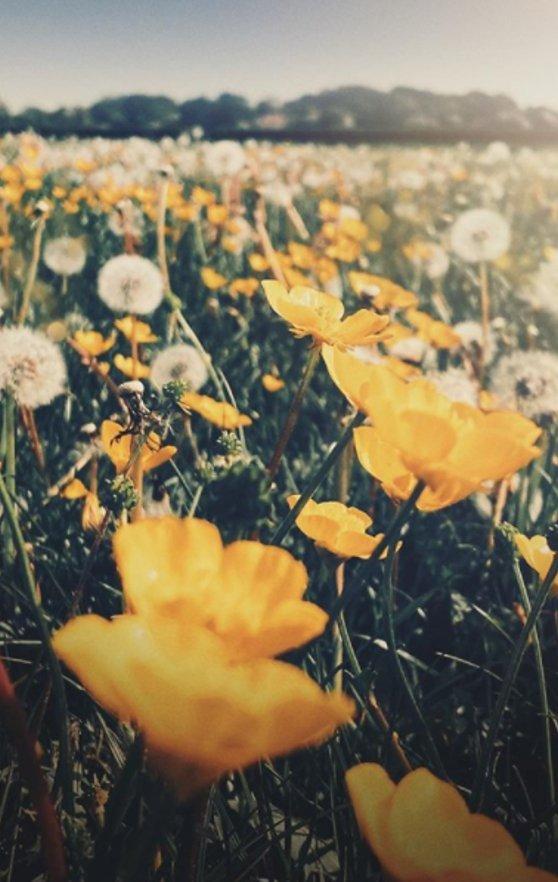
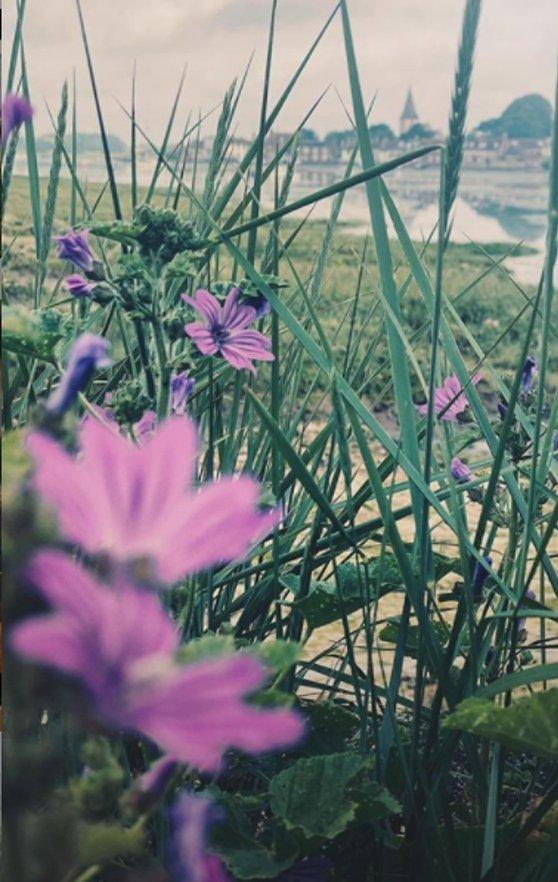
‘Try taking close-up pictures of plants or foliage in your garden, or when you’re out for a walk,’ Mike suggests. ‘The colours, textures and details you get back are amazing. Shoot early or late in the day when the light is low in the sky and casting lovely shadows and you’ll get some great results.’
Do it yourself
Natural light not cutting it? Grab a desk lamp and a piece of white card. ‘Shining light directly on your subject can be too harsh,’ Jane explains. ‘But you can shine the light from the lamp onto the card and ask someone to reflect the light onto your subject, moving the card around until you get the effect you’re looking for.’
Ready to get creative? ‘Shine a torch through a colander (or anything with holes) for a dappled or patterned light effect,’ Jane suggests. ‘Or use a CD (remember those?) to create a rainbow effect on faces or objects – direct light onto the surface of the CD and reflect it wherever you want the rainbow to land. You can also use coloured cellophane or document protectors to create coloured lens filters. If you don’t have any to hand, try colouring a cellophane envelope window with a felt tip pen – the effect won’t be perfect or subtle, but it’ll be interesting and give you lots to play around with.’
On the road
A photography challenge or scavenger hunt (where you make a list of things to find and photograph before hitting the road) can inject a bit of excitement into your lunchtime stroll or weekend walk – it’s also a great way to tempt the kids off the sofa. The alphabet challenge is a good one to start with.
‘I really like sending people out to find and photograph letters hidden in the shapes of the objects around them and then making words out of them,’ Jane explains. ‘A couple of crossed branches might make an X, a roll of tape could be an O and the top of a railing might make a T. Challenge yourselves to find all the letters in your house or street name next time you’re out on a walk. At home, the kids can make their names out of household objects like their favourite toys.’
Tools of the trade
Not sure if your camera is up to the task? ‘All modern cameras are technically pretty good,’ says Mike. ‘Look for an easy user experience. As a beginner, you don’t want to be wrestling with your camera – you want to be taking pictures and having fun. Look for a camera that’s easy to use, easy to handle and easy to take around with you.’
‘Prioritise things that will make life easier,’ Jane adds. ‘A camera that has WiFi connectivity will help you transfer images quickly and easily. A built-in flash will help with lighting challenges, and plenty of space for memory cards means you can take lots of shots without worrying about storage. A “point-and-shoot” camera will do all the work for you, while an entry-level DSLR will provide more opportunities to start learning more about technical photography. These are the next big step up in terms of image detail, sharpness and clarity.’
‘Don’t go too expensive right at the start,’ she advises. ‘There are lots of good cameras to learn on at the lower end of the range that will deliver great results. Canon cameras have comparatively simple controls but are packed with quality sensors, useful features and a great touchscreen. The Canon EOS 250D is probably the best beginner’s DSLR. If you want to step up as you go, buying better lenses is a great way to improve the quality of your images without replacing your camera.’
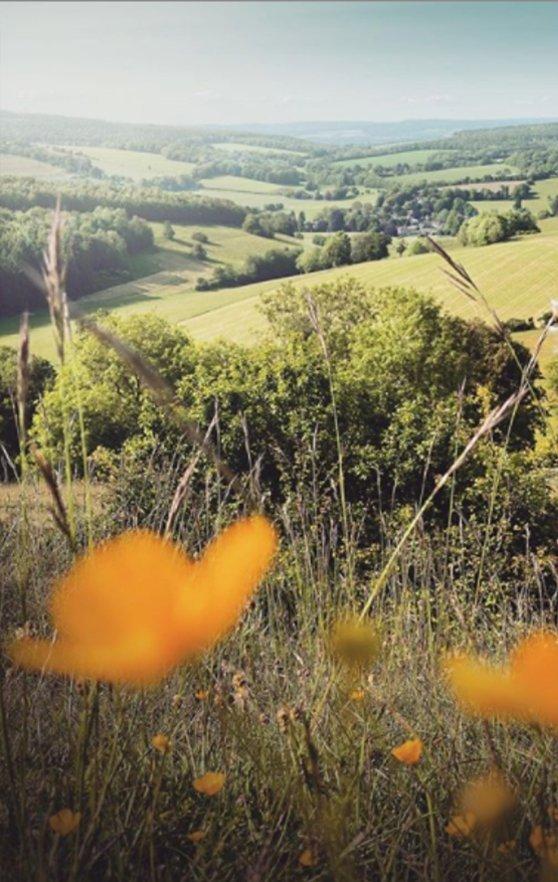
Looking to upgrade your existing lens? ‘Look for lenses that complement your style of photography,’ Mike advises. ‘If you like landscape photography, try a telephoto lens. If you like to capture details – flower petals, butterflies – think about getting a macro lens designed for close-up photography.’
No camera? No worries. ‘Your phone is a great place to start as it won’t overwhelm you with technical choices,’ says Mike. ‘Camera phones are increasingly good now,’ Jane agrees. ‘Huawei and Samsung offer the best options if you want to get stuck in but feel a DSLR isn't for you. The Huawei P40 Pro is a real standout – it allows you to shoot in RAW, offering editing and printing opportunities never seen before in smartphones.’
Images: Mike Kus

